Removing Record Contact Relationships
Background
Whilst helping a customer upgrade to the latest version of Content Manager, I saw something that I've been seeing more often. They had numerous unknown locations associated as contacts to their email records. That is common enough, but these were improperly parsed SMTP addresses.
The administrator of that dataset was manually removing these locations from the dataset as they have no value. However, Content Manager does not allow you to remove a location if there are contact relationships in existence. The screen-shot below demonstrates the error message you'd receive if you tried to manually remove the location.
Error Message
To work around this the administrator was selecting a location to use as a replacement. The end result is a location in Content Manager which is a contact on thousands upon thousands of records. It doesn't make much sense to me.
Solution
One possible solution is to create a new add-in which would allow the administrator to remove the contact relationships before deleting the location. Other possible solutions include: location add-in to automatically removing all contact relationships pre-delete, record add-in to automatically remove all contact relationships post-save, event processor add-in to automatically remove the contact relationships post record registration, and a stand-alone console app to show/correct all locations with this issue. To me it makes the most sense to create a location add-in which allows the administrator to manually remove these contact relationships. If the solution works well, then crafting something to do it in an automated fashion would make sense as the next step.
You can download the add-in here.
Solution in Action
When the administrator right-clicks on a location they'll see this:
When the administrator clicks the "Remove Contact Relationships" they'll either be prompted to confirm the removal of the record contact relationships, like so:
Confirm Removal
Or the administrator will be told there are no relationships to remove:
No contact relationships Dialog
After the removal has completed the results are shown to the administrator:
Removal Results Dialog
The add-in also works if you tag multiple locations and then invoke the add-in:
Multiple locations tagged
The behavior is slightly different when working with tagged locations. You won't be prompted to confirm the removal. The record contact relationships will be removed and then a results dialog will indicate the total number removed, as shown below.
Results when removing from tagged locations
Installing the Add-in
Launch the installer and then click next on the welcome dialog:
Welcome dialog
Alternate the installation path, if necessary, to reflect the actual folder of your HPE Content Manager x64 installation. The installer does not intelligently detect the actual install folder. Click Next after confirming installation path.
Installation Path
Click Install when presented with the confirmation dialog:
Confirmation Dialog
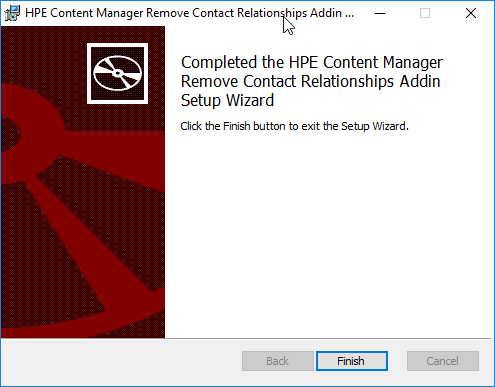
Depending on your workstation configuration, you may be prompted by Windows to authorize the installation. Click yes if prompted. Once the installation is completed you'll be shown the completion dialog. Click Finish on that to close the installer.
Completion Dialog
If you open windows Explorer you should see one new file in the installation folder:
Windows Explorer View
Configuring the add-in
Open HPE Content Manager and then click External Links from the Administration ribbon:
HPE Content Manager Administration Ribbon
Click New Generic Add-in (.Net):
External Link Dialog
Update the new generic add-in dialog as shown in the image below and then click Ok
Add-in Properties
If the Add-in is installed correctly then the dialog will close and you'll see the add-in listed in the listbox on the external links dialog, as shown below.
Click Properties and then click the Used By tab:
Check both the unknown and person location types and then click Ok.
Used By tab of the external link


